Posts Tagged ‘#1’

Updates

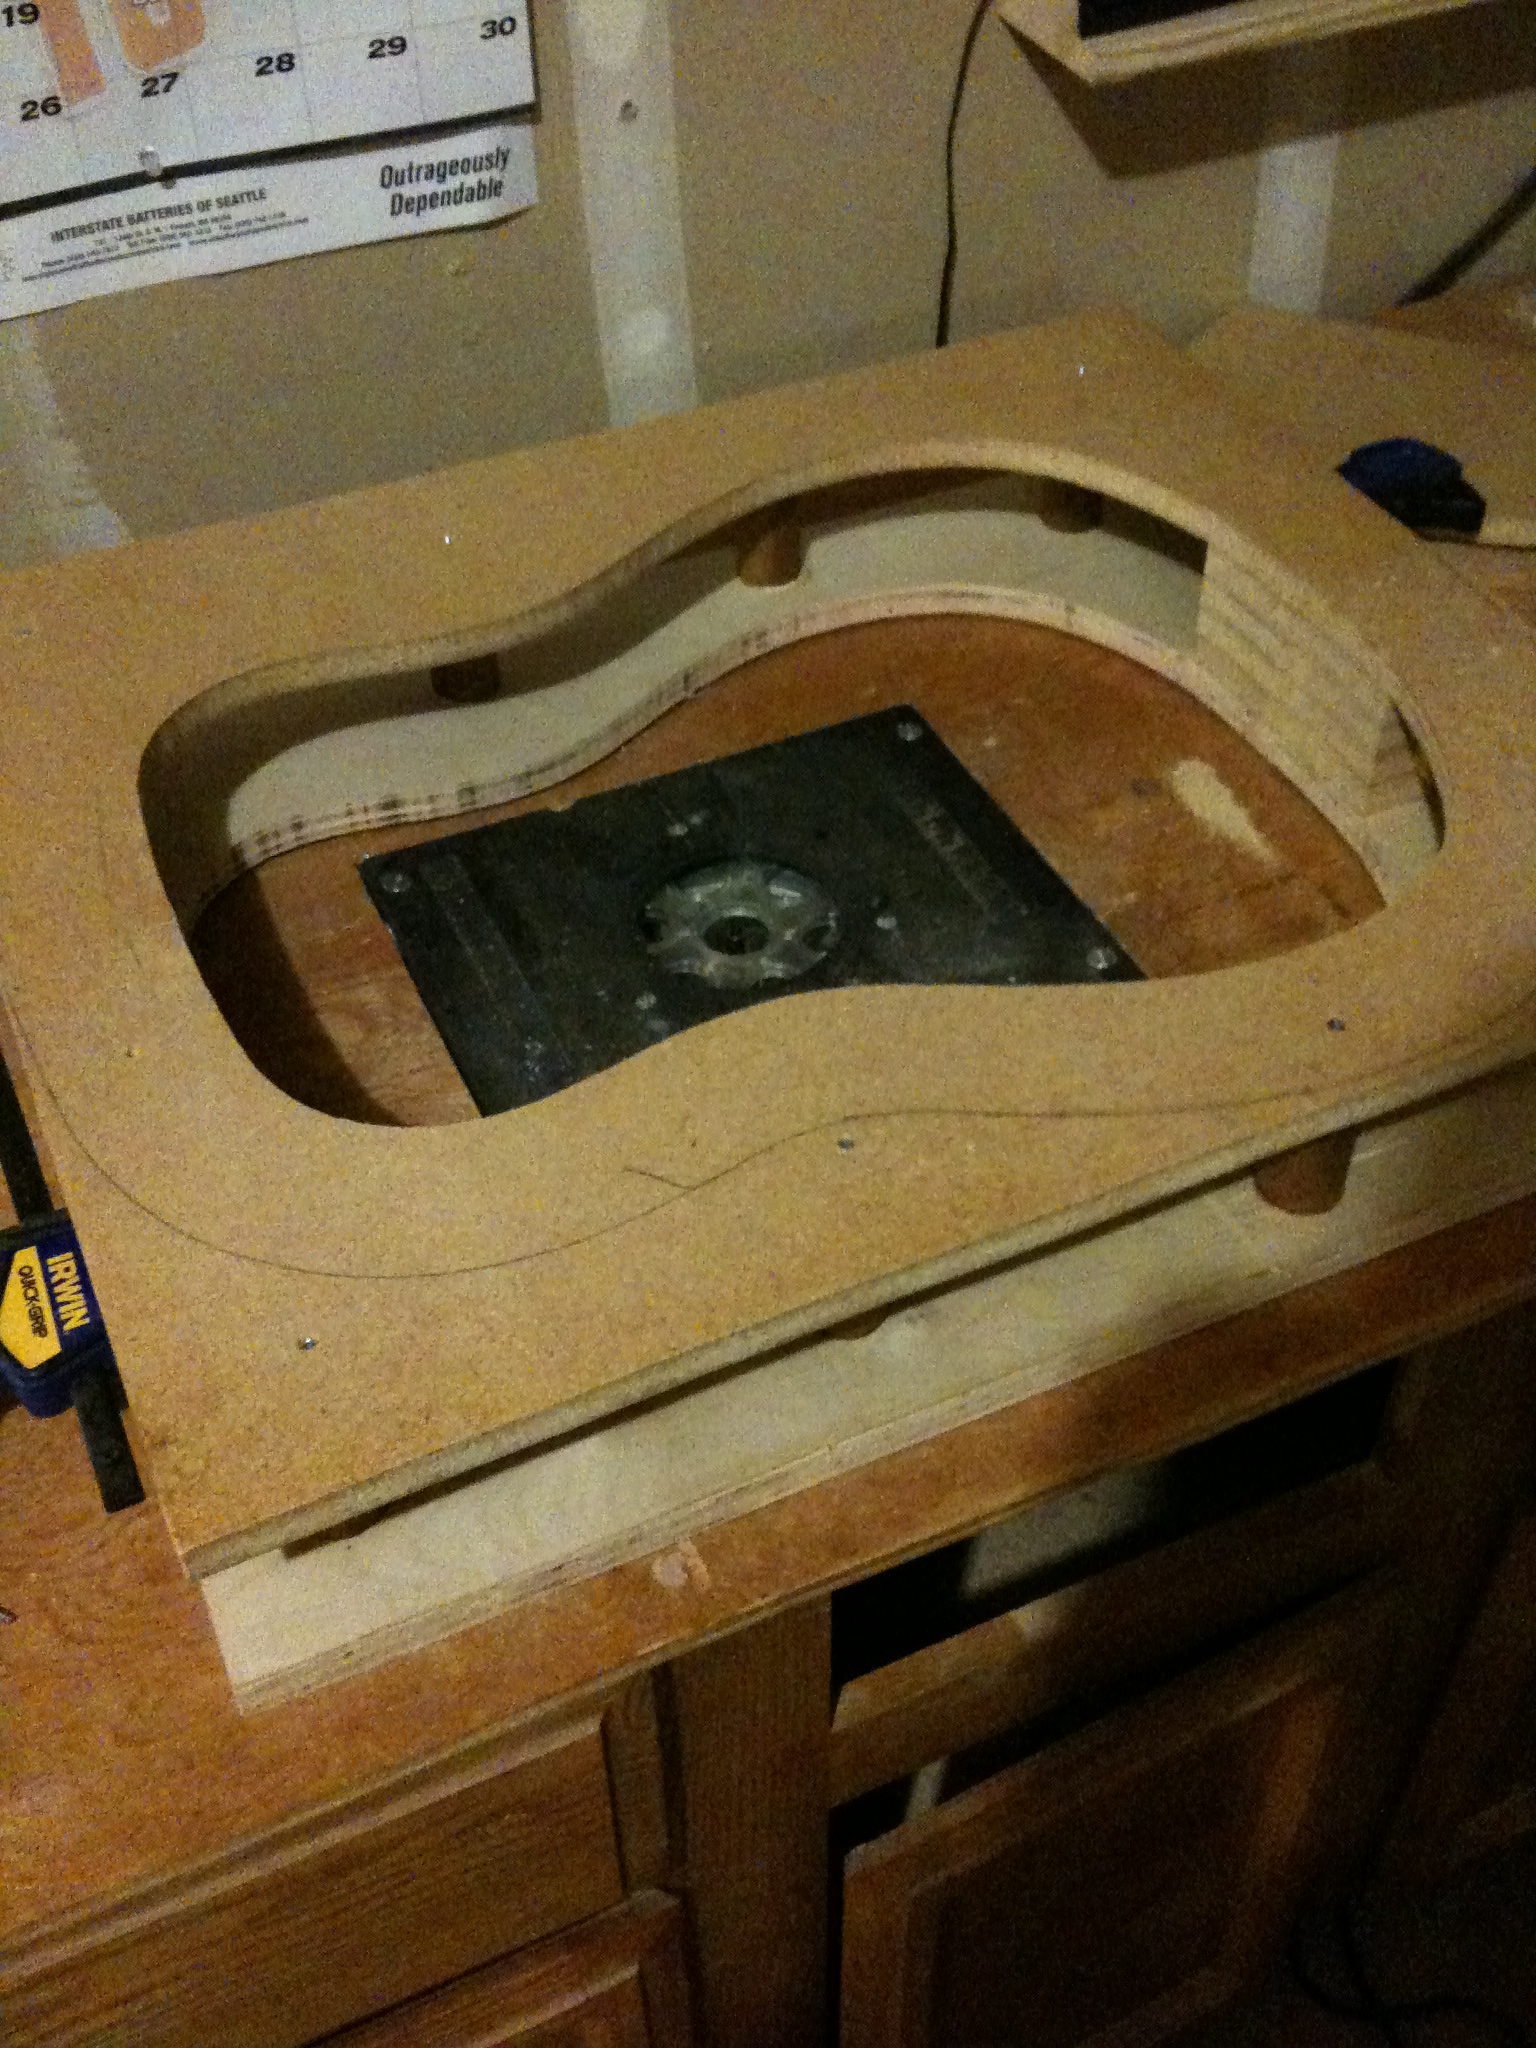
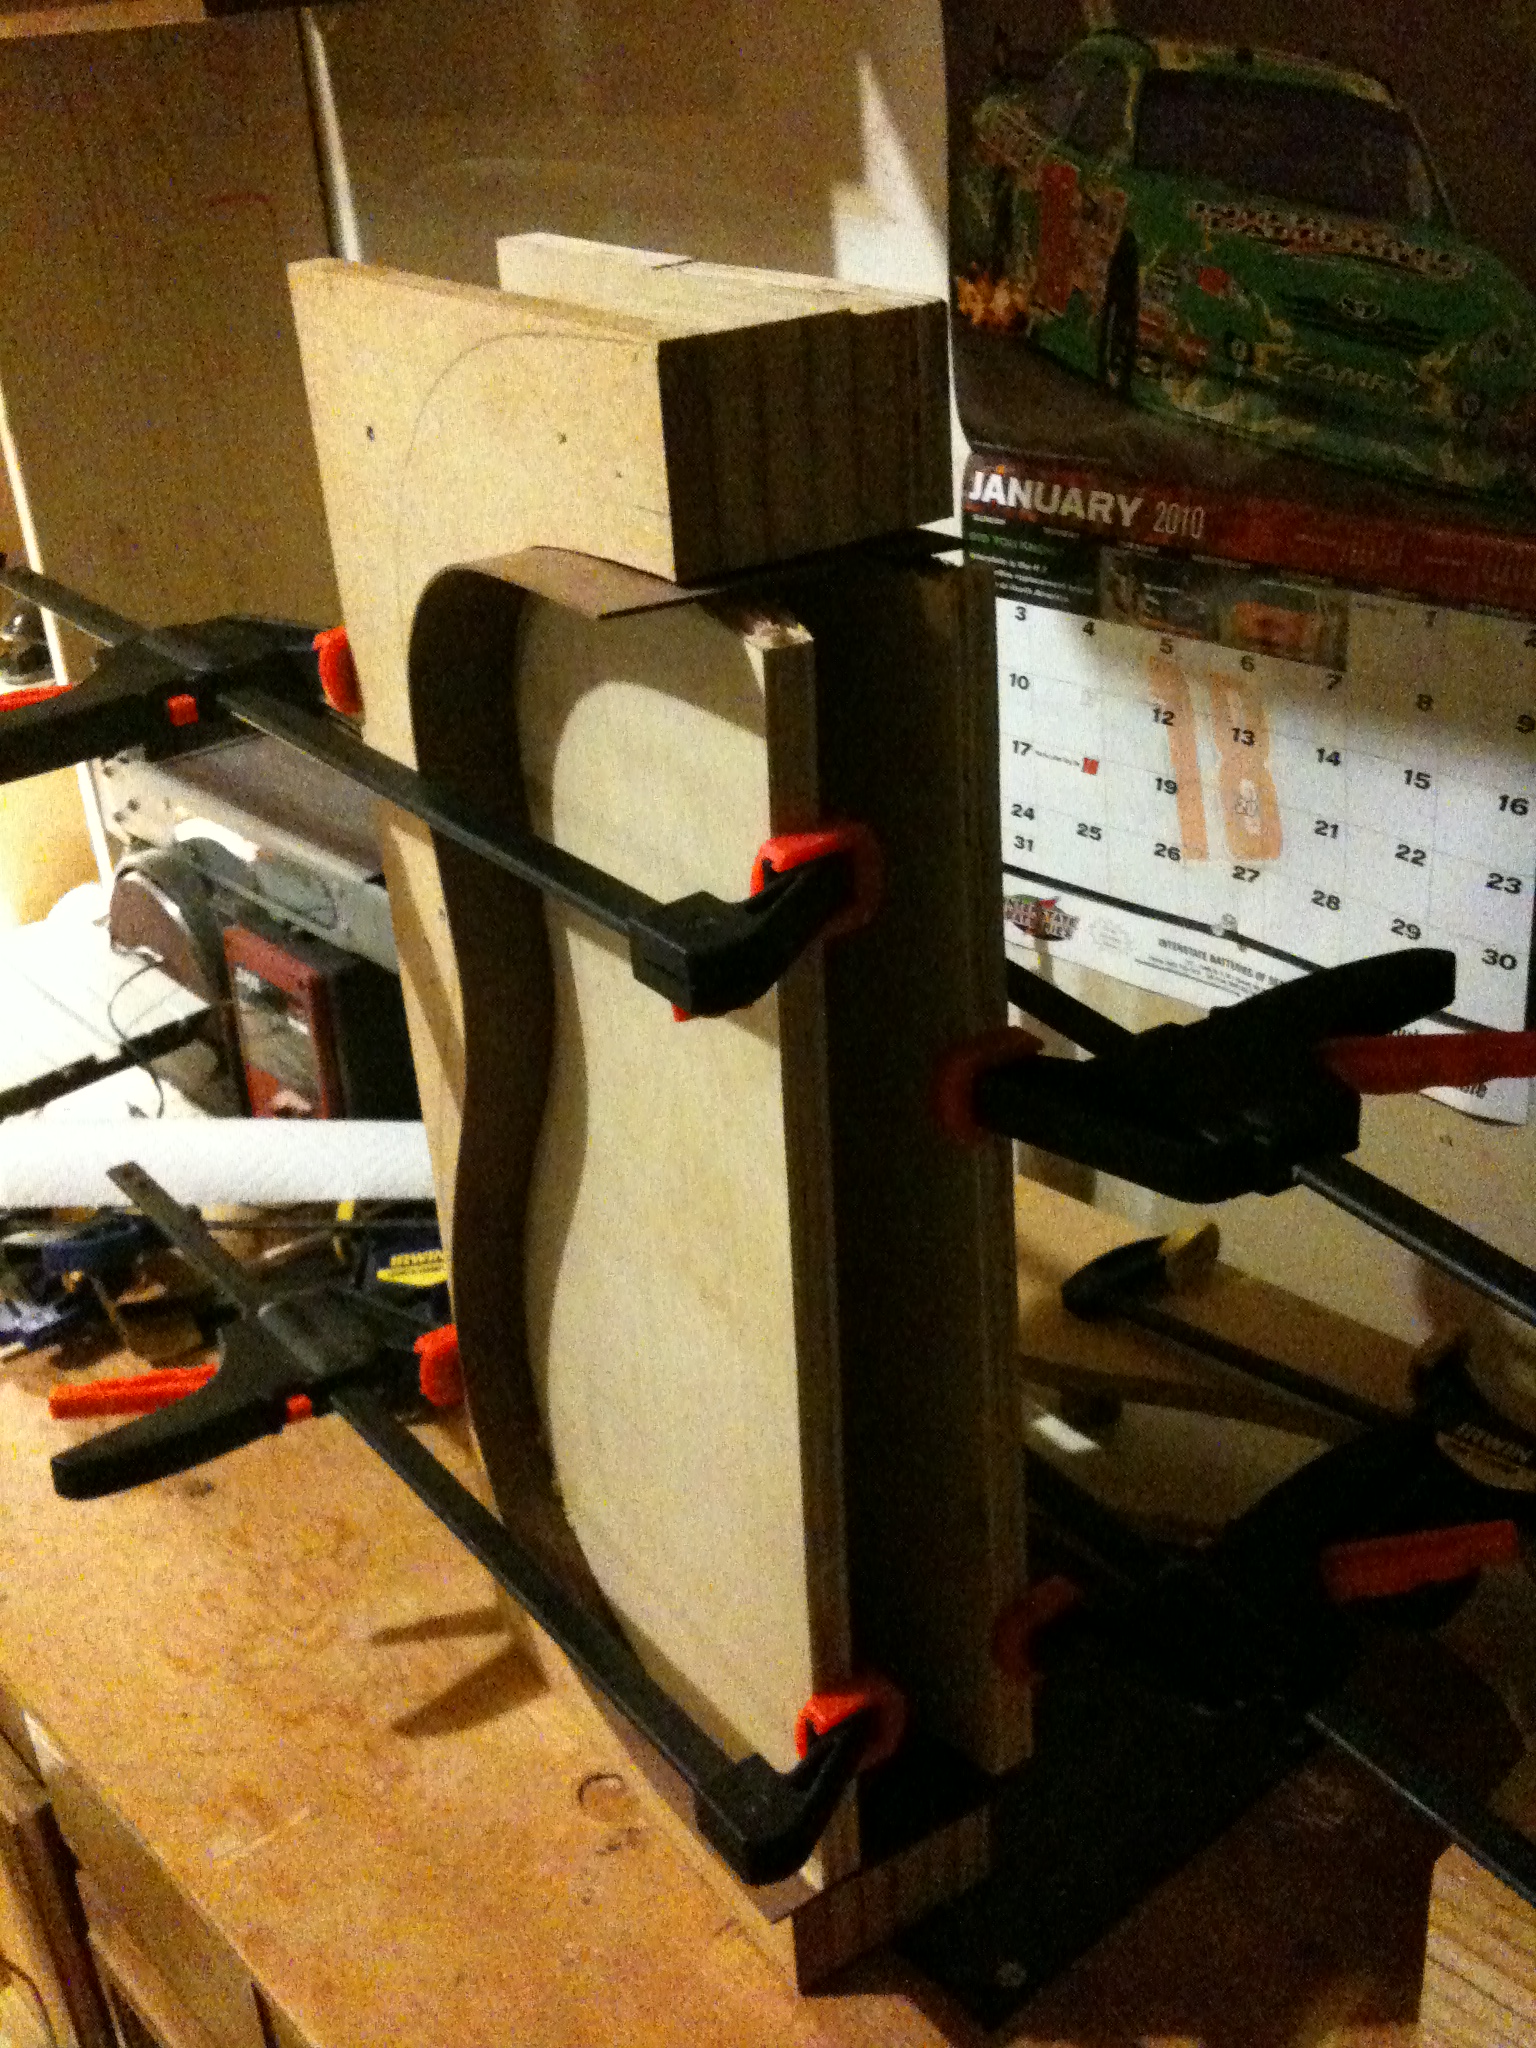
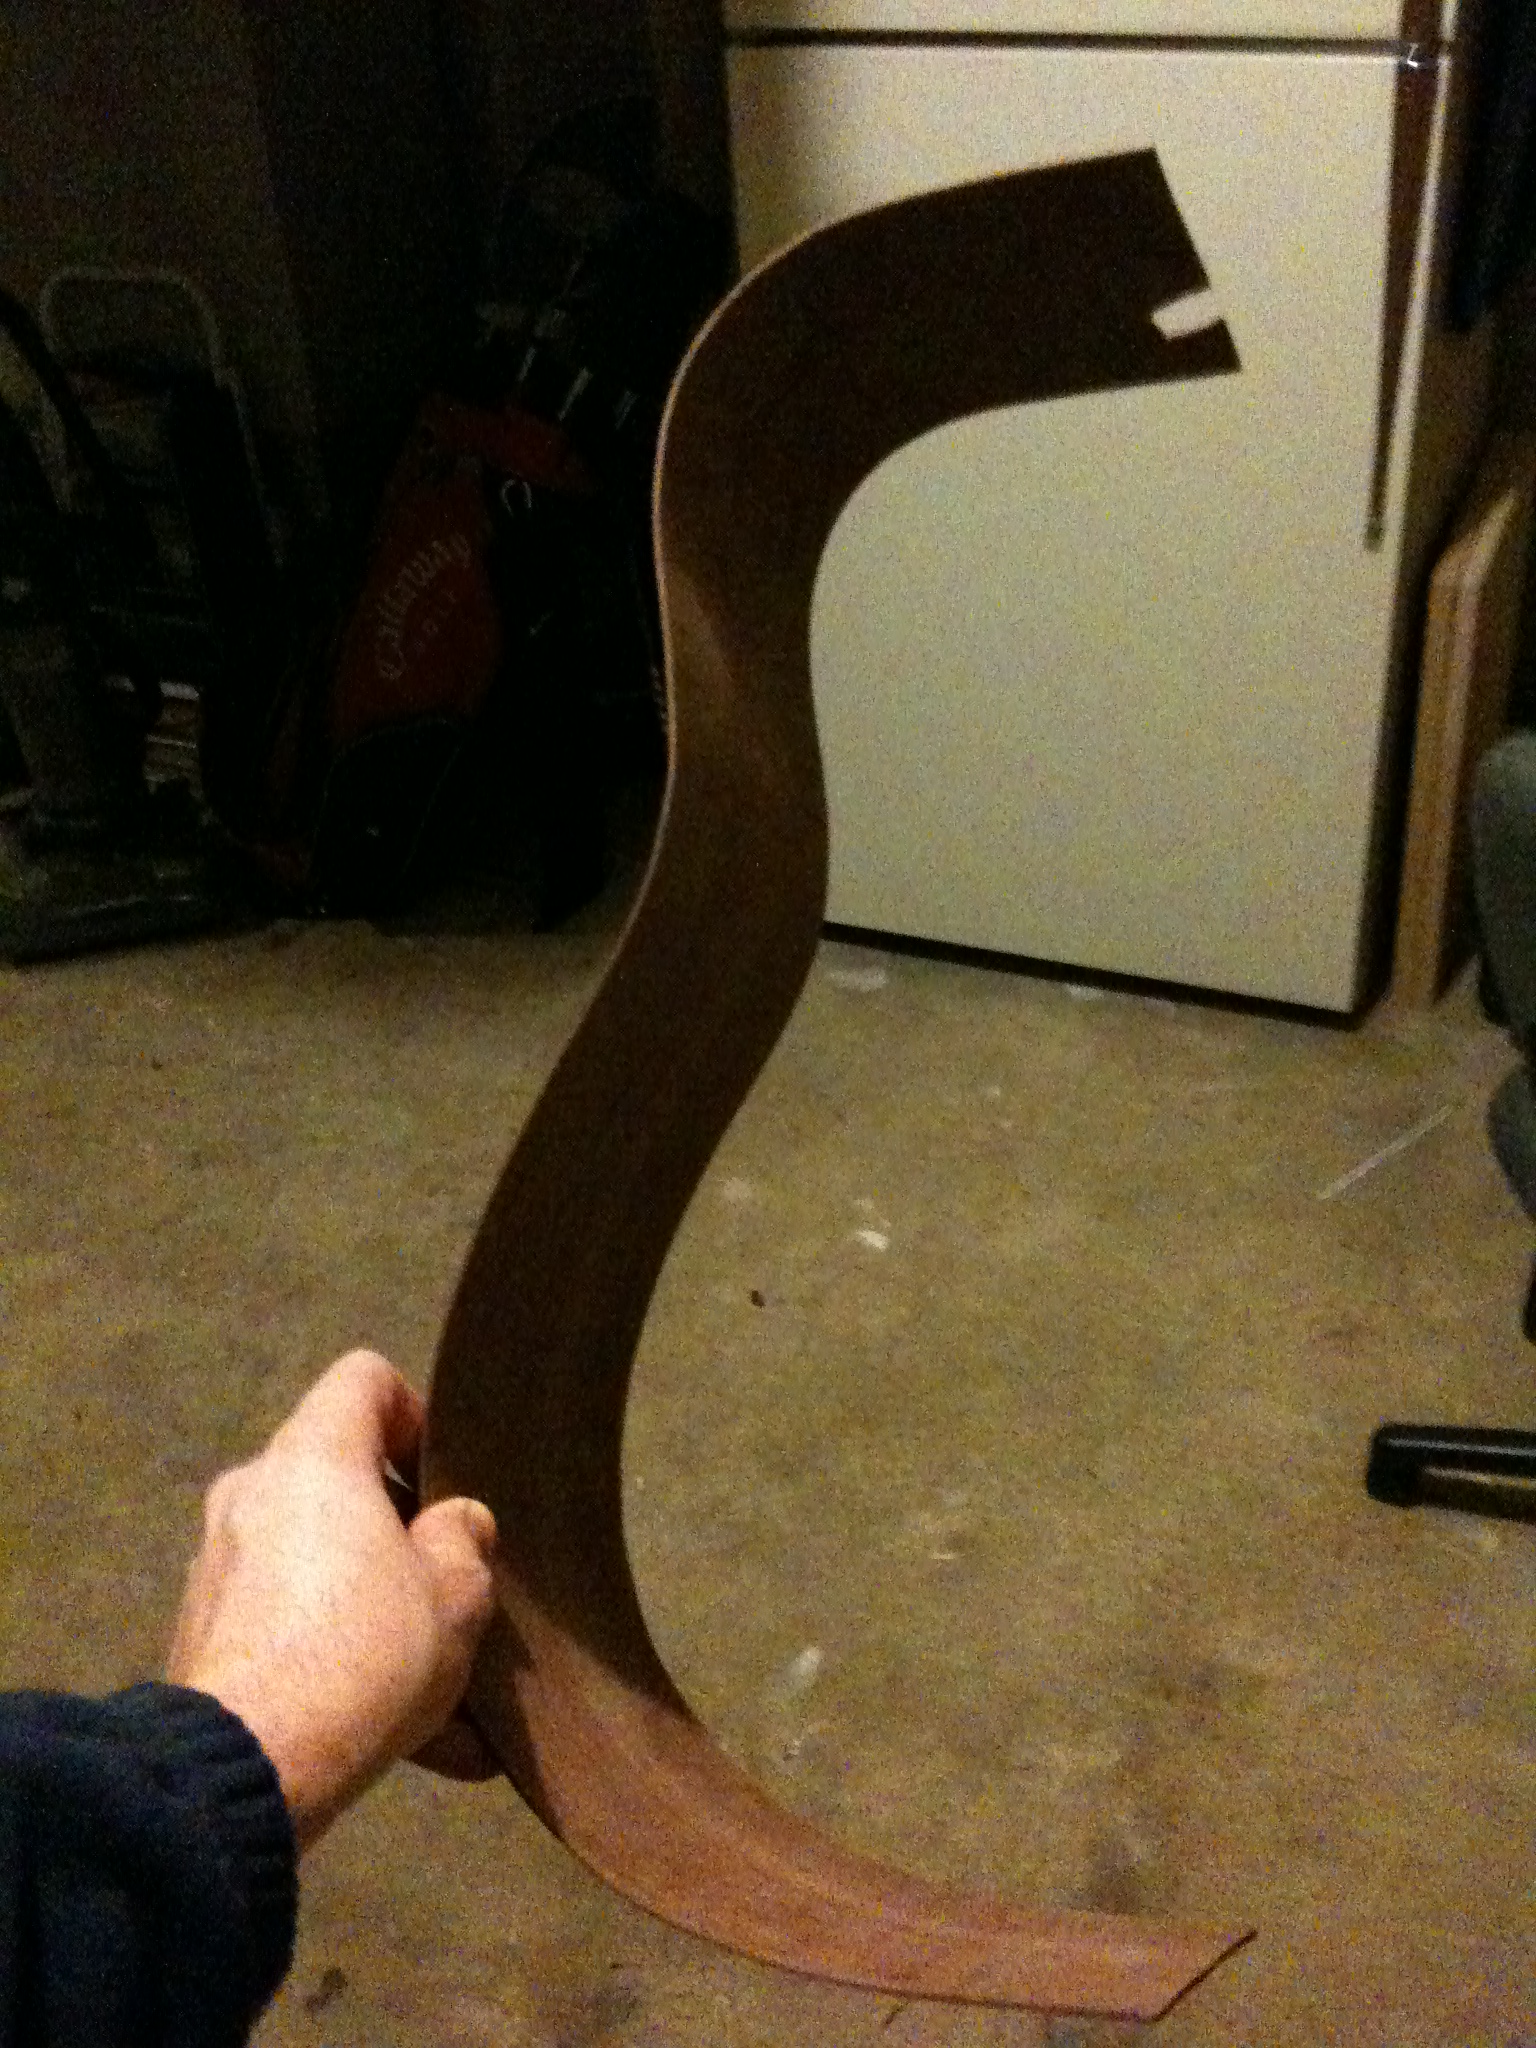
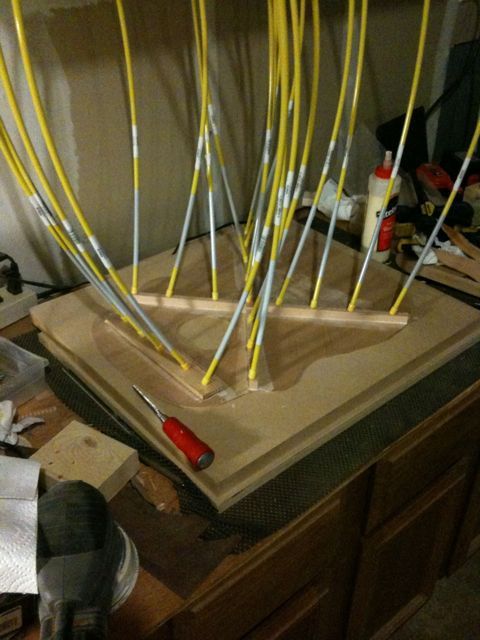
Here are some updates so far. I didn’t get a lot of pictures of the process here. A lot of this recent stuff is pretty new to me, so I was pretty focused on reading directions and careful planning. I forgot to pull my phone out and take some snap shots.

Anyway, here is what I have.

Fretboard inlay

I created a simple design on the fretboard. I wanted something that was easy to create yet still look original. The inlay material is called Paduak, it looks a lot more orange than I anticipated. I still think it looks pretty cool.

Box closed up!

So I got done what I wanted to get done. I got all the kerfing on, cleaned everything up, and got the top and bottom glued on. I had some complications, but I got them all figured out and fixed. Next I flush cut all the sides and the tenon for the neck. Lastly, I glued on the end graft. It doesnt look super good, but hopefully with enough sanding, it will look ok.

Next is shaping the neck.

-M

Blocks on

I glued on my neck and tail block. I broke one of my clamps in the process… it’s a good thing it was like $4.

Next up, side profiling, kerfing, fitting and more glueing. Hopefully I’ll get to gluing on the top and back by the end of the weekend.

Not many pictures. Trust me, this took a long time.

Bending the Binding

Here are some more pics. I got the second half of the guitar bend as well as the bindings. Before I bent the bindings, I glued on some b/w purfling.

Now I’m just waiting on my blocks and neck blank to show up.

Sides bent!

I jumped ahead a little bit and got my first side bent last night. I should’ve waited until I got the inner caul fabricated. The negative that I had from the mold is just a bit too small and doesn’t fit all the way around.

It still works pretty good.

Soundboard bracing

I glued a ton of wood onto the soundboard. The more i glue on, the more I have to remove.

My hands are really sore.

Back bracing

Here are a few photo’s of the process of bracing the back.

I probably used too thick of braces, either that or they aren’t tall enough. They are more triangle shaped than pillar shaped. During the shaping process, I slipped a lot with the chisel and took chunks out of the back. So I have a significant amount of sanding to do. At least I didn’t slip and take chunks out of my hand… I can’t sand that out.

My first rosette ever!

It’s becoming increasingly difficult to come up with witty titles for my posts.

Anyhoo, here is the rosette on guitar #1. I kind of like it.  I was a little over-ambitious with the design in the early stages, but i think it worked out well. It’s simple, but it has a little flare to it.

On with the pictures.

Soundboard check… check check check!

First off, WOW, soundboards are waaaay easier to work with than a guitar back. The wood is like butter and conforms to your every will. You actually have to be careful with it or it will snap in two.

Anyway, I got the soundboard all glued up and some of the rosette installed. Sorry that I didn’t get more pictures of it. I could probably offer up a better explanation, buuuuuttt…. I don’t really want to.

Return top

Bailie Guitars Blog

Greetings! This is a blog about my adventures in building guitars. I hope you enjoy!