Archive for the ‘Luthier’ Category

Back bracing

Here are a few photo’s of the process of bracing the back.

I probably used too thick of braces, either that or they aren’t tall enough. They are more triangle shaped than pillar shaped. During the shaping process, I slipped a lot with the chisel and took chunks out of the back. So I have a significant amount of sanding to do. At least I didn’t slip and take chunks out of my hand… I can’t sand that out.

My first rosette ever!

It’s becoming increasingly difficult to come up with witty titles for my posts.

Anyhoo, here is the rosette on guitar #1. I kind of like it.  I was a little over-ambitious with the design in the early stages, but i think it worked out well. It’s simple, but it has a little flare to it.

On with the pictures.

Go Go Gadget GoBar!

So I knew that i was going to have to build one of these eventually. I was just putting it off because I wasnt sure on how I was going to do it. I didnt want to spend $200 on a premade setup that was going to take up more space, so i decided to implement it into my current setup.

I knew where i wanted it and i knew how to build it, i just didnt know what kind of mechanism i wanted it to be on. I didnt want the top shelf to be up there at all times, so i was thinking some sort of hinging system.

While building the top shelf, i got an idea of a slot system. As you can see in the pictures, you can just slide the shelf in and out of the slot, no problem.

It was easy after that. I picked up some fiberglass reflector rods for $2 a piece and cut them to length. These suckers put down a lot of pressure!

The last picture is of me gluing in the back bracing on the back of the guitar using a 20′ radius dish.

Done and Done!

Soundboard check… check check check!

First off, WOW, soundboards are waaaay easier to work with than a guitar back. The wood is like butter and conforms to your every will. You actually have to be careful with it or it will snap in two.

Anyway, I got the soundboard all glued up and some of the rosette installed. Sorry that I didn’t get more pictures of it. I could probably offer up a better explanation, buuuuuttt…. I don’t really want to.

Pushing on

So I took a bit of a sabbatical because this walnut has been frustrating me. With my kit guitar finally finished, I have no excuse to not move forward with this now.

As you can see in the pictures, I took some pretty big hunks out of the wood. It’s surprisingly hard wood, so it’s quite difficult to repair with sanding. But I sucked it up and got ‘er done. You can see in one of the pictures that I wiped the board with Naptha, that’s what I can expect the wood to look like when its all finished.

At first, I thought I might want to put a backstrip in that’s the same color of binding that I am going to use. But I decided against it.

New toys!

woohoo! I picked up a Delta 12″ bandsaw last weekend.

Kit guitar finished! (for the most part)

So I decided to wrap up this guitar finally. Christmas is coming and I figured what better time to deliver a gift to someone?

I gotta say that I am not totally pleased with my finishing job. The shellac that I used had very strange characteristics when I was sanding. Also, I didn’t seem to be getting anywhere with the sandpaper that I was using, I don’t really know why.

Also, the setup is a bit wonky. The string spacing is waaaaaay too high, I tried to counter it by messing with the truss rod. That didn’t get me anywhere. So I just sanded down the saddle more, it helped.

The guitar has a fair amount of settling to do. It is still making creaking and popping noises. Hopefully they will stop in time.

Anyway, that is enough trash talking this guitar. Now for the pics.

Custom Guitar #1

Sure, the last guitar that I made was “custom”, but I didn’t start from scratch. A lot of the legwork was done before I touched it.

I decided while waiting for the finish to cure on the kit guitar, to start on the next one.

I don’t have an exact plan on this one, I’ll just play it by ear. I wont make it a habit of winging every build, but I will be tooling up during the process of making this guitar, so I cant make a lot of decisions anyway.

This stage of the process required me to purchase some hand planes. I bought some cheapo Stanley planes at Lowes. I cut the shape of the guitar with my electric jigsaw. I also made a make-shift shooting board so i could glue it together.

Shooting the sides of this thing was a huge learning process. I still dont think that i have it…

I made some attempts at thicknessing the back with the plane. As you can see, it’s horribly mangled. I’m not sure what to do just yet. I think I’ll just sand it until its un-mangled. Then i get to decide what to put as the marriage strip…

-Marcus

Epoxy: The new filler on the block

Ok, the studio is back up and transmitting. That just means I have stopped stuffing my mouth with Halloween candy long enough for me to make another post.

Epoxy. Or should I say Z-poxy.

Let’s start at the beginning.

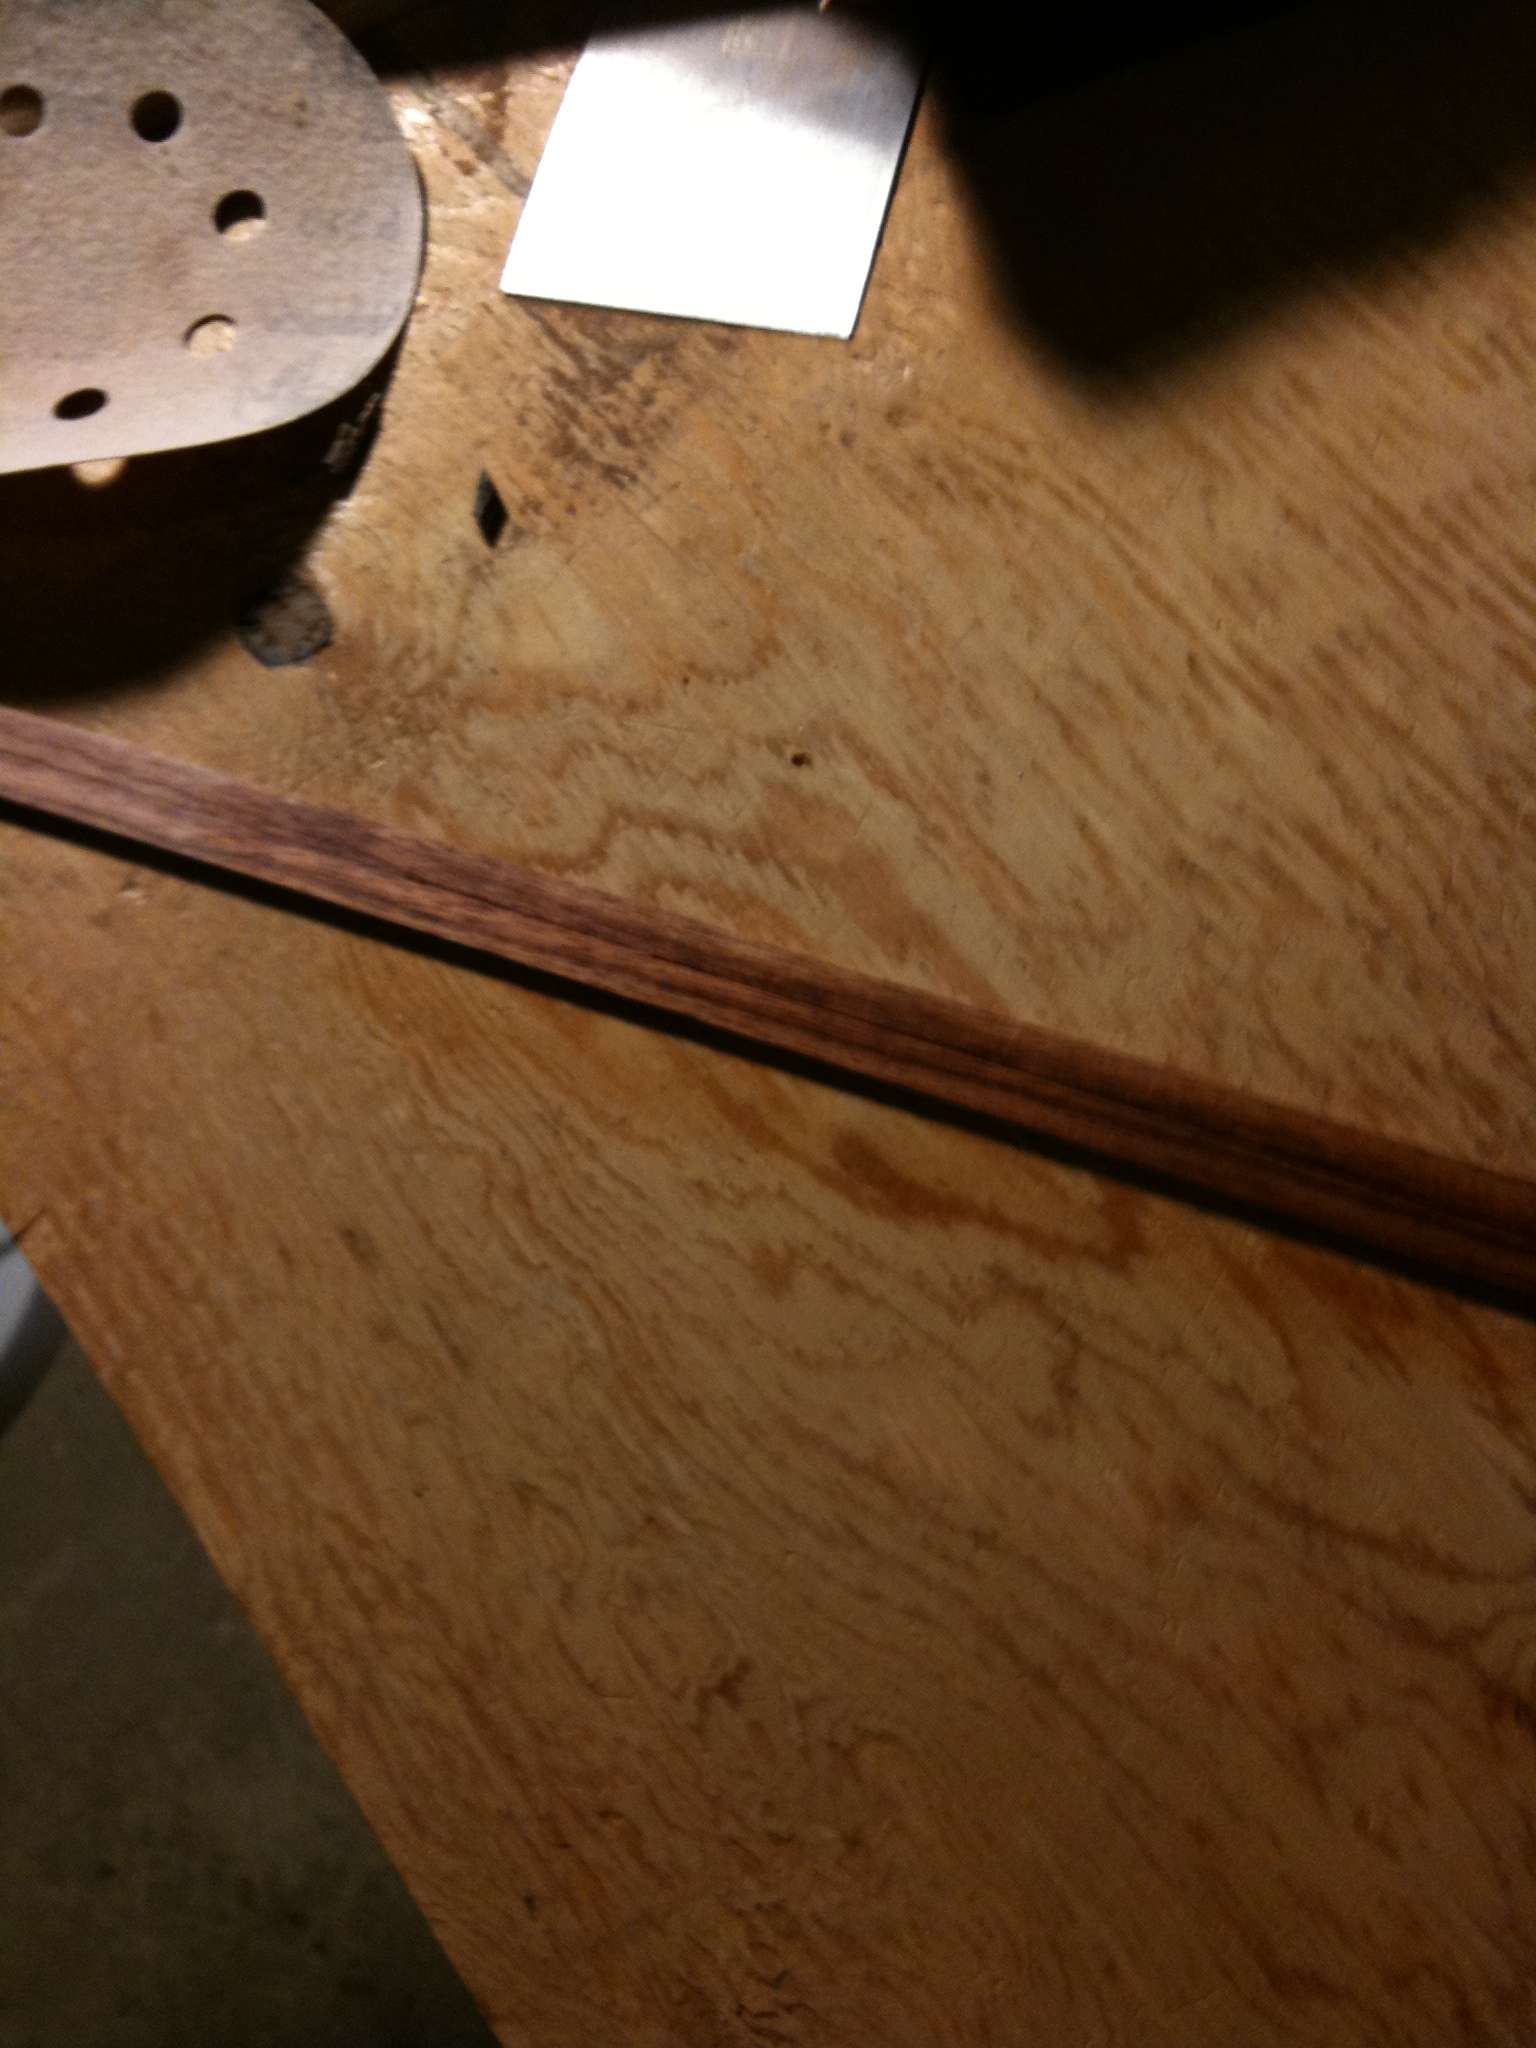
Wood CAN be very poreous. If you look at some of the closeup pictures in my other posts, you can get an illustration. From what I understand, if you finish a guitar without filling those pores (or gaps) then you end up with a guitar with a bad complexion. What happens is that the finish gets sprayed on, you sand it, and the wood sucks in (or absorbs) the finish and the finish then gets sucked into the pours. That is a theory that I think I read somewhere…. I could be totally full of crap, though.

Enter Z-poxy. Z-poxy is an epoxy finishing resin. Most epoxies are for adhering things to one another. This epoxy is for finishing. Basically, you just apply the epoxy to the wood and it fills the pores… simple as that. Simple, yes! Messy? very.

I use gloves to apply the stuff. If it gets on your hands you’ll be using sandpaper to get it off after it dries.

The first few pictures are my first attempt at pore filling the back of the guitar and the headpiece. A lesson learned on this application is that the more you leave on the back, the more you will have to sand off. So my next attempts consisted of applying the epoxy and then scraping off the excess. For the back, I used an old Subway (eat fresh!) card. The subsequent applications were used with some clay modeling utensils.

You see all that epoxy globbed on there? It took me soooo long to sand that off, even with an electric sander.

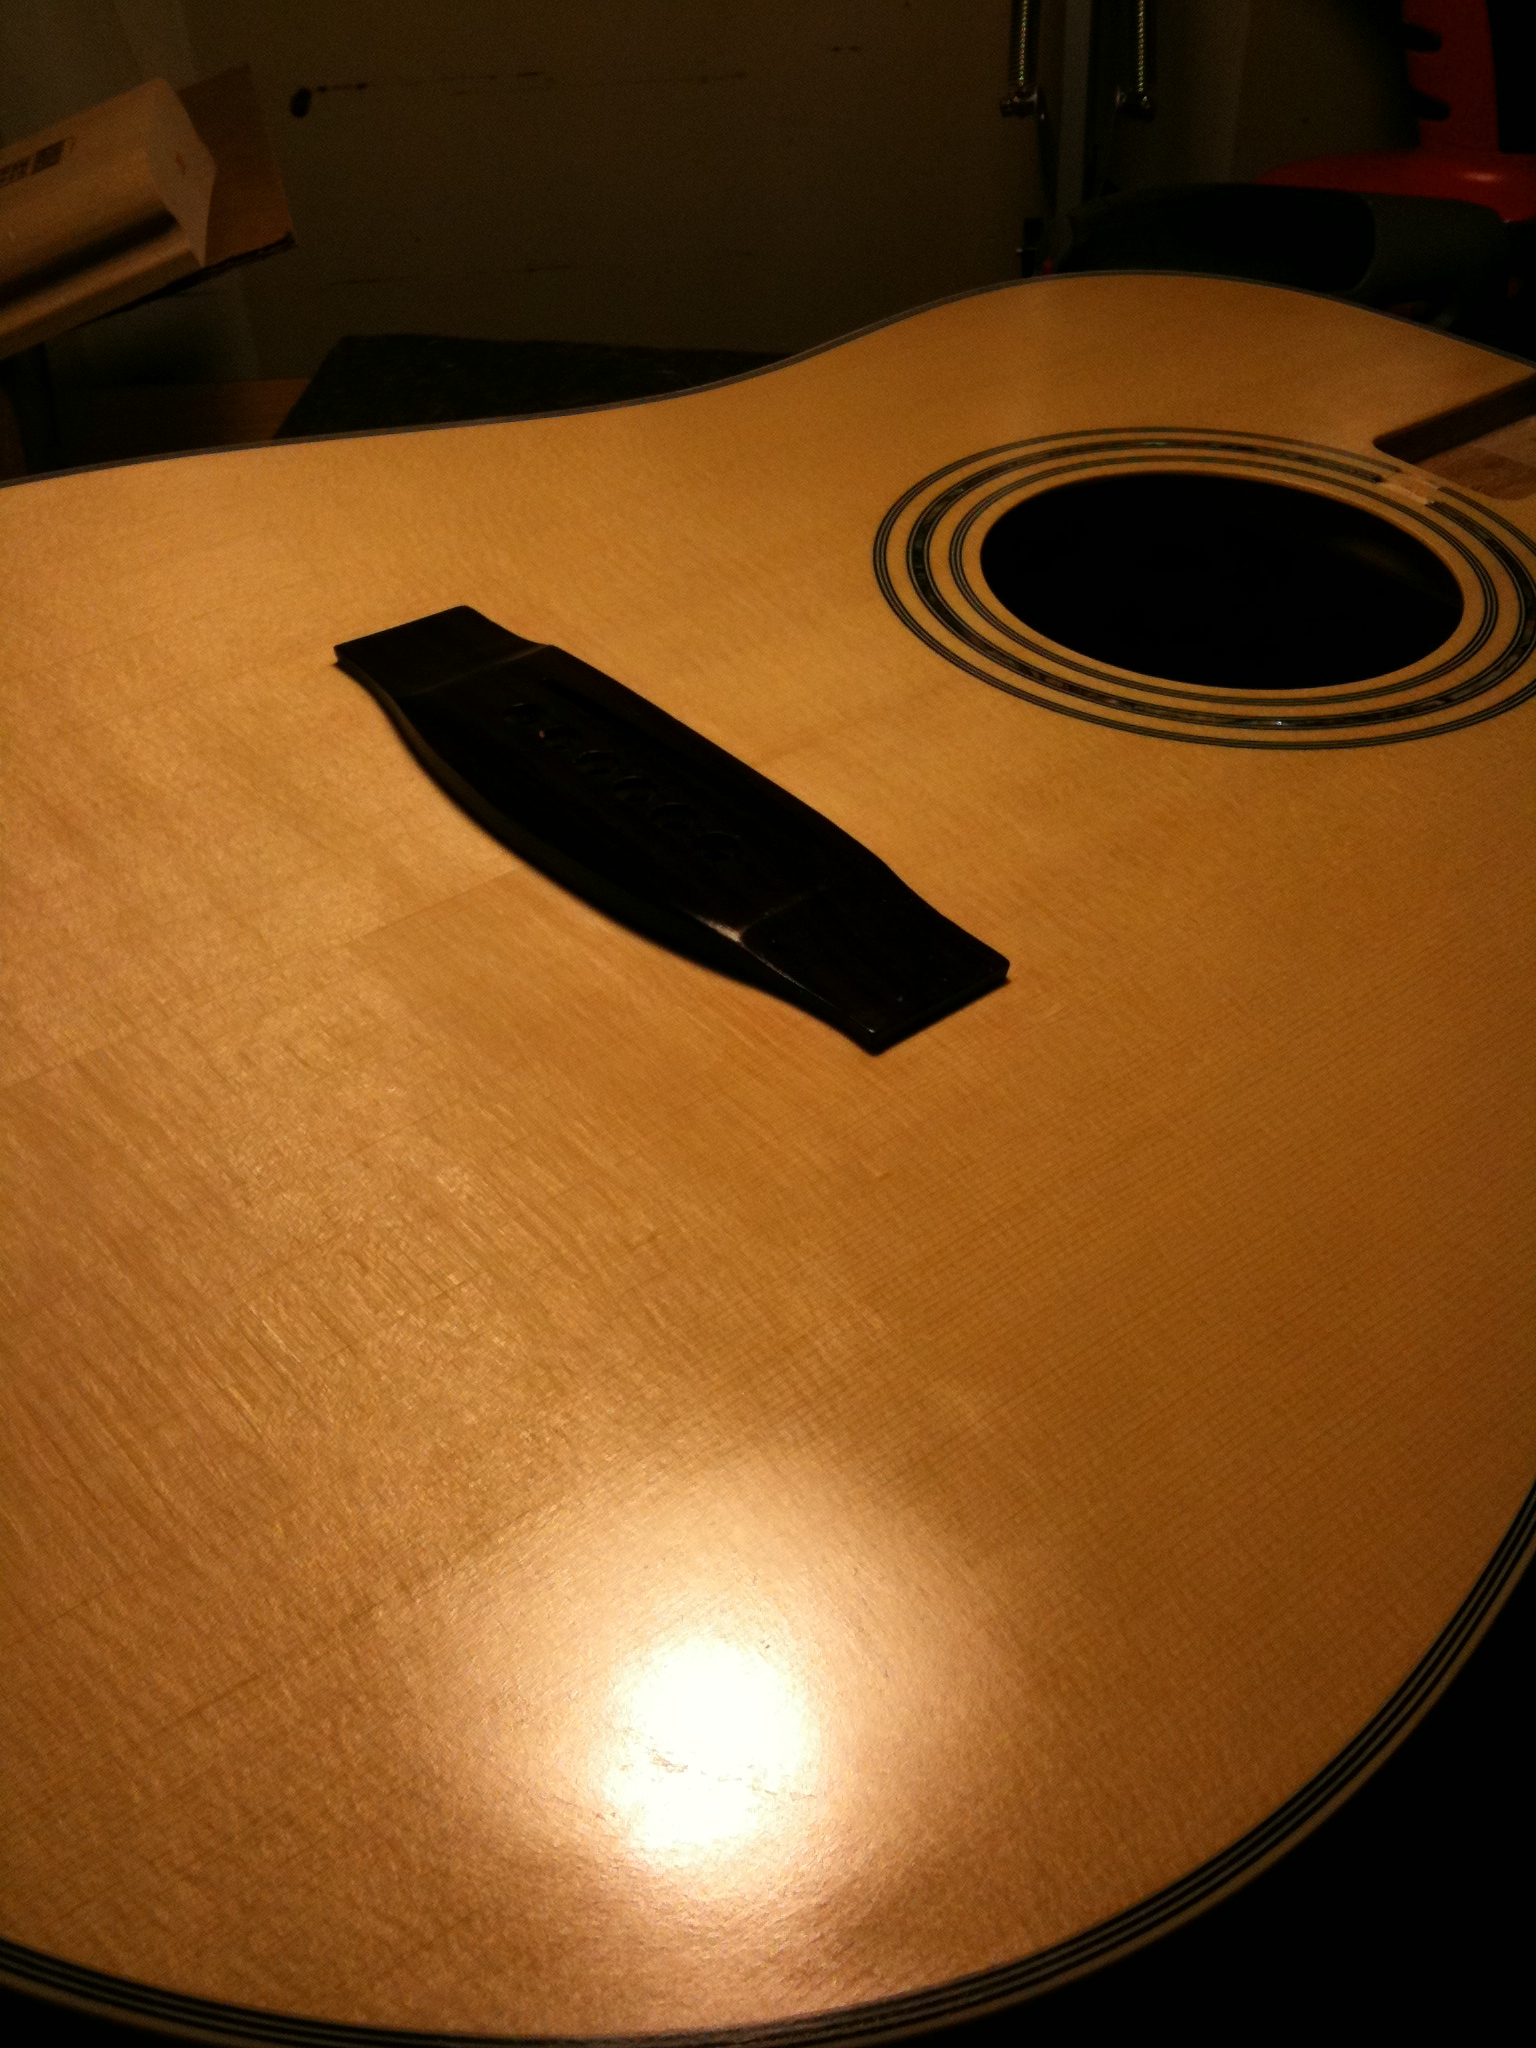
You can see the epoxy reflections in the pores of the wood here.

IMG_0734

From what I have read, 3 applications of the epoxy should be enough. Epoxy, sand, epoxy, sand, epoxy, sand, done.

On to finishing the rest of the guitar.

-Marcus

Copious amounts of… shellac.

I wanted to show the pictures first in this post so you could see the progression of the top finish. I am using shellac from ColorTone. Initially, I was waiting on the funds to order my Z-poxy (more on that next post) but then I realized that the top doesn’t really need any pore filling.

Apparently there are different “cuts” to the shellac that you need to be aware of. 1 pound cut, 2 pound cut, etc. etc.

From what I’ve learned (and I don’t know much) is that you need to start off your base coats with a fairly low cut (thin mix). So I dumped some shellac flakes in my container, poured in a bunch of alcohol and waited. I had to play around a lot with the mixes because the shellac doesn’t dissolve very well and I kept getting chunks. This probably means it was way too thick, so I kept adding more alcohol.

When I got to a fairly thin mix, I started applying the shellac to the top. My first impressions weren’t good. The shellac was dull, clearly not coating well, and overall very underwhelming. I figured I would keep trying, I could always just sand it away if it didn’t work. So I added a few more coats. It wasn’t getting any better. I decided to call it a night.

The next day I made a thicker cut and applied the shellac liberally. After it dried I started to see some results. Then I remember that the very idea of shellac is a slow buildup of finish. Duh!

So my routine was add 2 or 3 coats of shellac and let it sit for a day. After sitting for a day, I would either add more shellac or sand it flush, depending on what I saw.

That’s where I am currently. Hopefully I’ll post an update on it in a week or so.

Return top

Bailie Guitars Blog

Greetings! This is a blog about my adventures in building guitars. I hope you enjoy!