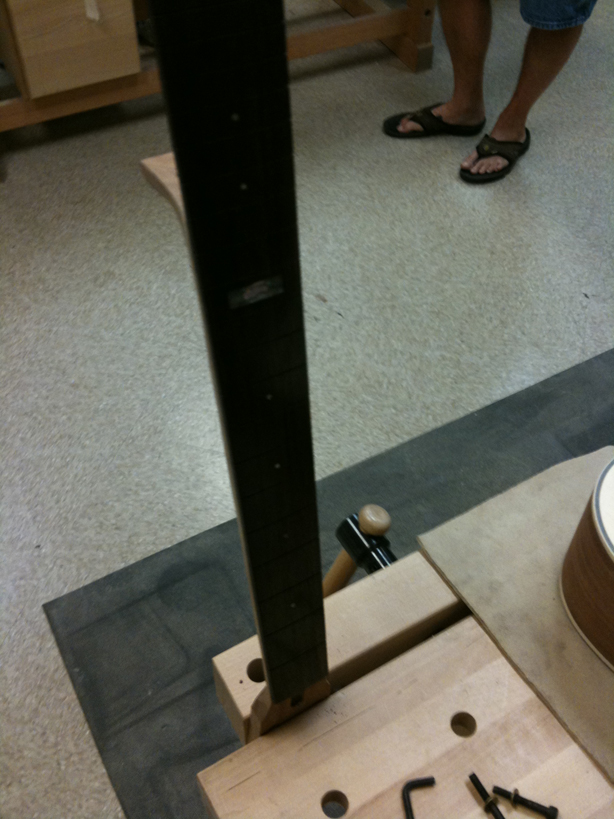
So as soon as I got into the shop today, I got started. I started by routing the neck tenon channel from the soundboard. This was done with a router and a small flush cut bit.
Next was to dry fit the neck to the body. My guitar needed some shimming, two shims got it just about right but was low in a few spots. So I added a new shim and just used a block plane to take down the material on the top.
I radiused the fretboard next. I don’t have any pictures of that, but what a mess! It’s a ton of work and I was coughing up rosewood snot for a few hours after the class. It’s quite a bit of work, but I ended up with a good looking fretboard. After that, I flipped the fretboard over onto a flat piece of sandpaper and made the back of the fretboard flush for gluing to the neck.
Next up was to ream the tuner holes. The holes were already drilled in the headstock, but i had to ream them out so that the tuners would fit correctly. This also was a long, strenuous process.
Last for the day was to glue the fretboard to the neck. One picture is of the dry fit and measuring, the next picture is of it clamped onto the neck.
Now for the pictures!
-

-
Cut the tenon from the soundboard.
-

-
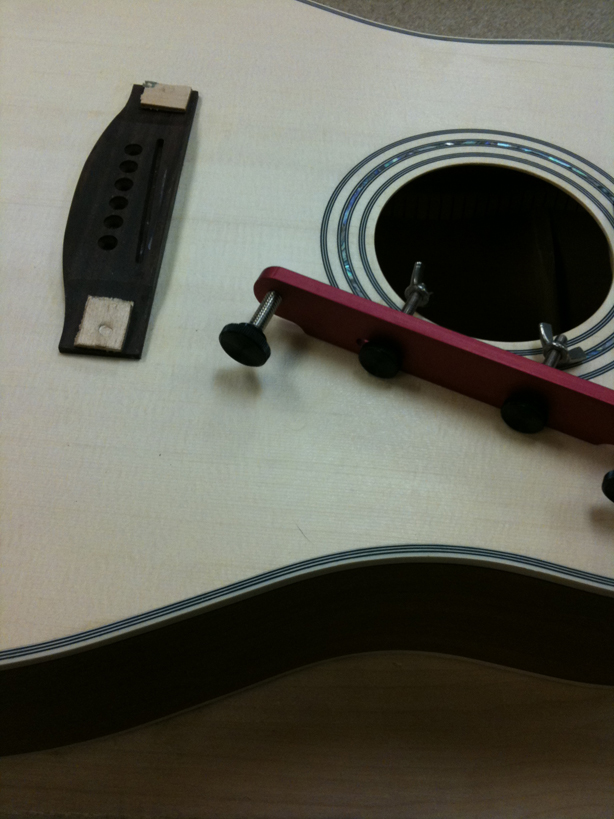
Dry fitting the neck to the body (putting in bolts, atm)
-

-
Neck shimmed and fitted
-

-
Reaming holes for tuners
-

-
Fretboard dry-fitting and measurment
-

-
Fretboard glued and clamped to the neck.
Until next week!
-Marcus