
#1 all gussied up!
- June 22nd, 2010
- Write comment
I got me a fancy camera now, even bought myself a nice ol’ tripod to put ‘er on!
Here you go.
Posts Tagged ‘#1’
I got me a fancy camera now, even bought myself a nice ol’ tripod to put ‘er on!
Here you go.


So I am still super pleased on how well this aerosol can finish is turning out. It even buffs fairly well. I dont have much patience for sanding, so it is slightly orange-peeled. Here are some before and after shots.


I must say that I am super pleased with how the finish is coming out on this guitar. My expectations were super low and I am glad it is turning out so good, even if it is pretty early.
I’ve gone through 3 cans so far and i still have a couple cans to use up still. The finish is still pretty thin, but it looks really good. I just have to do a lot of sanding, and then buffing. I hope to be mostly finished this weekend.


Im glad that this is almost done, but I am really nervous on how setup is going to be. I get a strange feeling that i might as well put some strings on a cinder block…
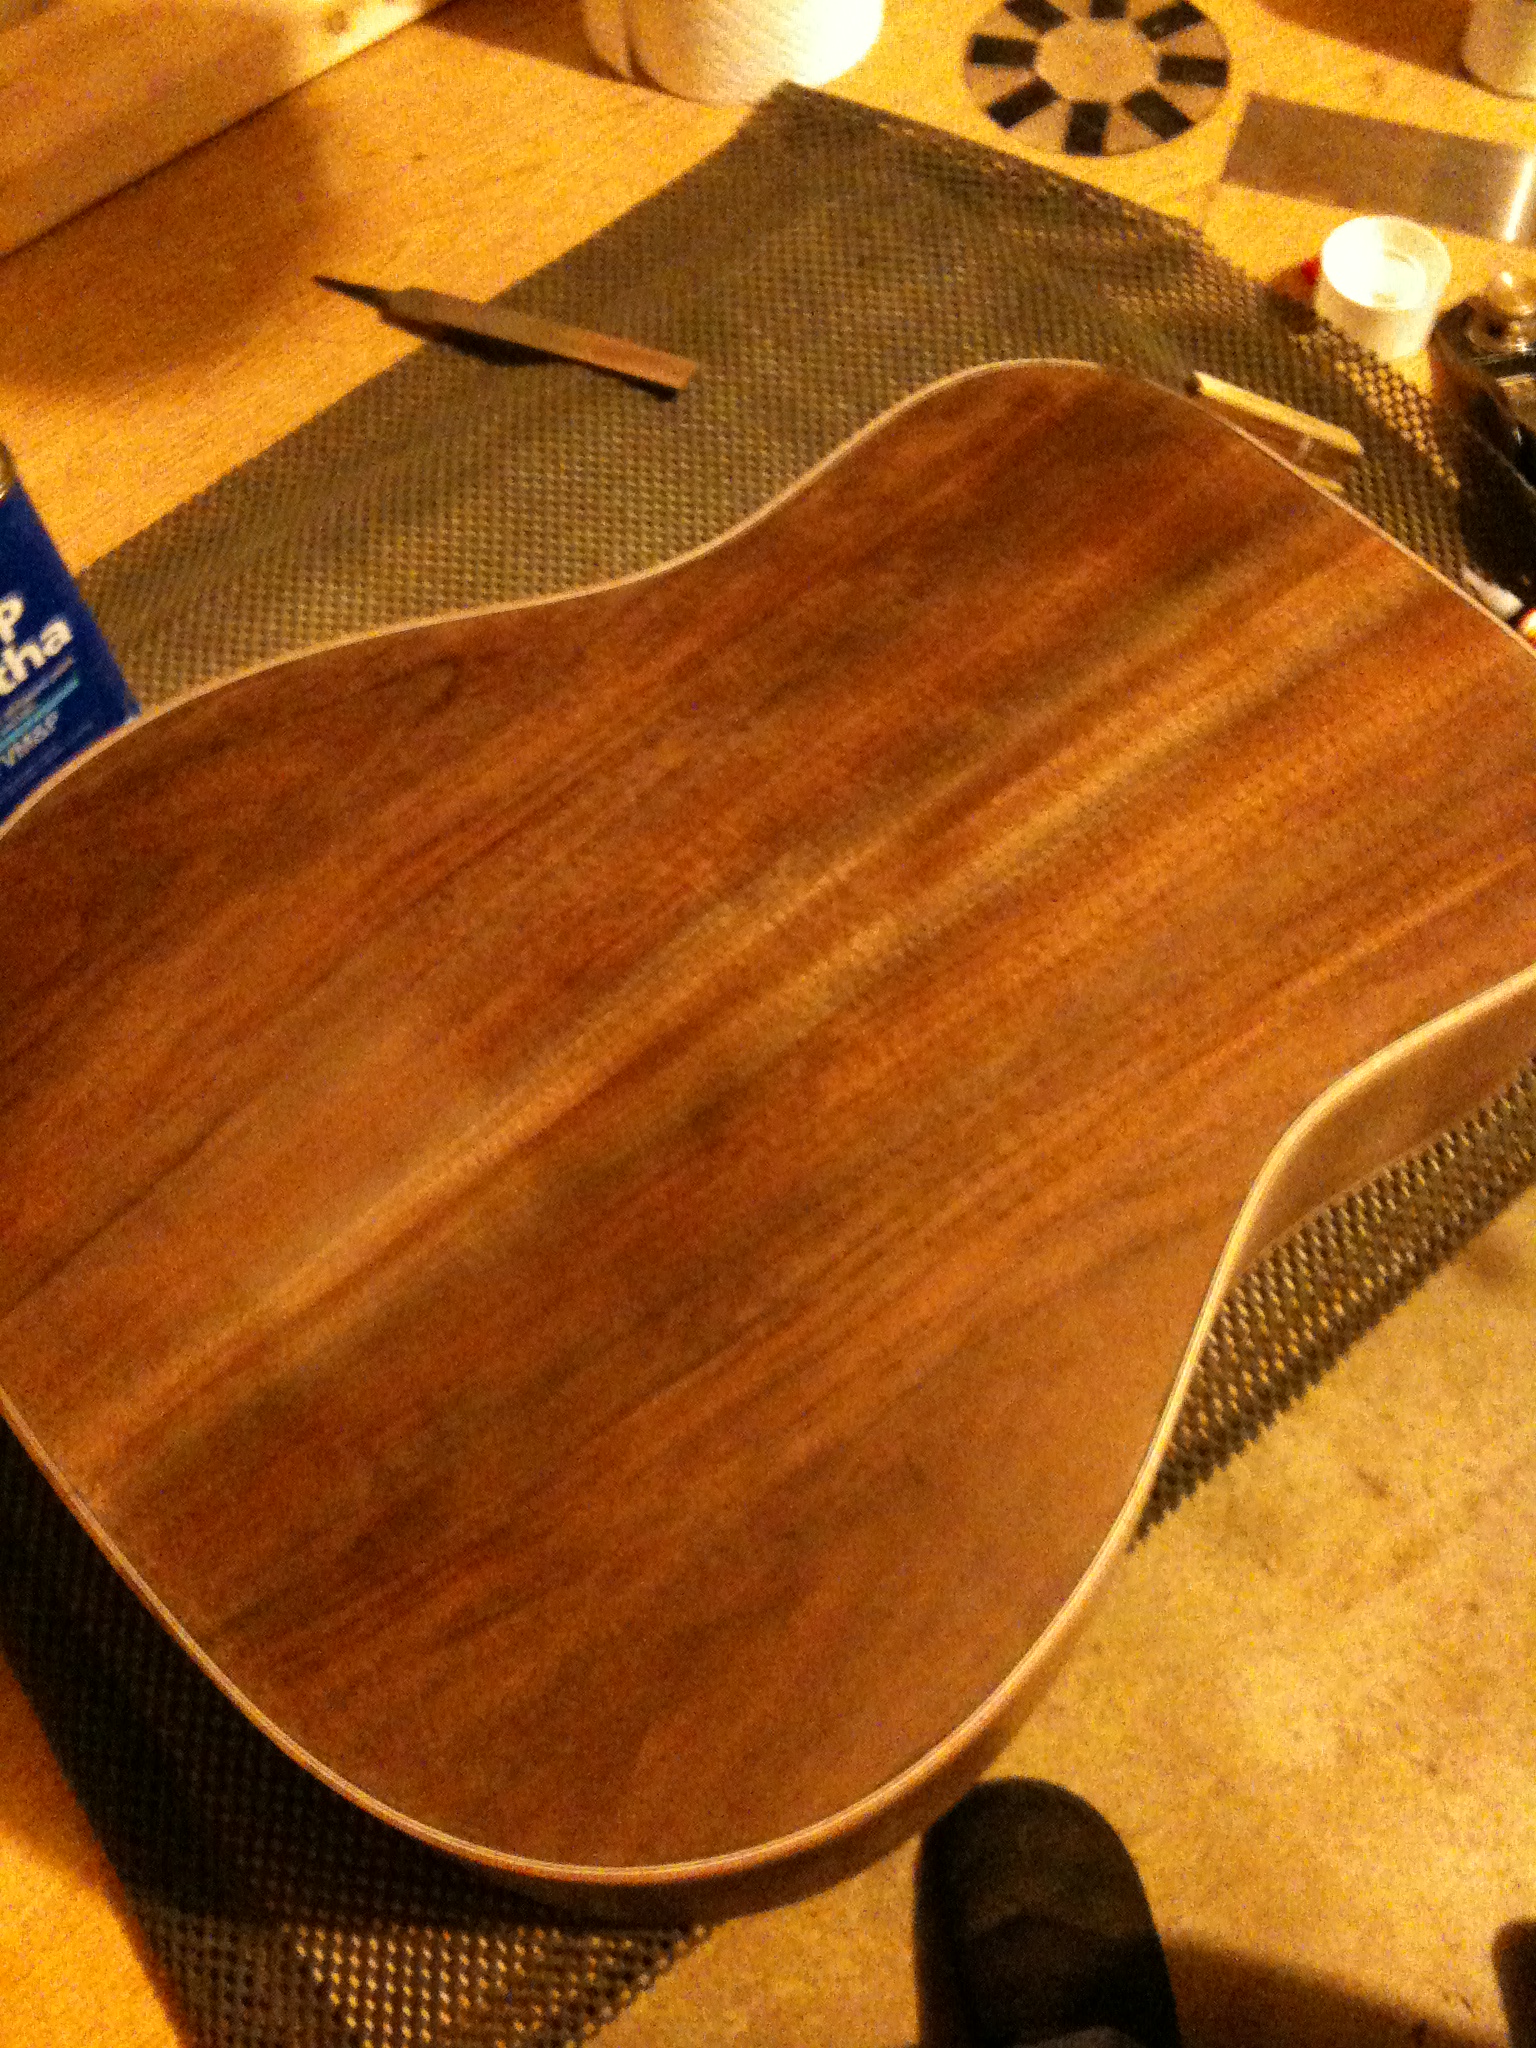
I got my Bridge shaped and “flossed”. I tested the fit of the neck but I cant say that it is done just yet, I don’t have a centerline finder. I am still doing some pore filling, but I am not satisfied with the squeegee that I am using, so that is on hold.
Here are some pics.


I did some work over the weekend. I went and bought myself some toys over at Harbor Freight, mainly a hammer with plastic heads on it for fretting. I also bought some supplies for a jig that I made (another post).
The frets installed without a hitch. I masked off the fretboard to save from any slips. Then i used my cheap chisel diamond-stone to level the frets. Used my crowning file to put the crown back on the frets. Used my micro-polishing pads to get them less rugged, then I used a polishing wheel (via my Dremel) to polish them to a nice shine.
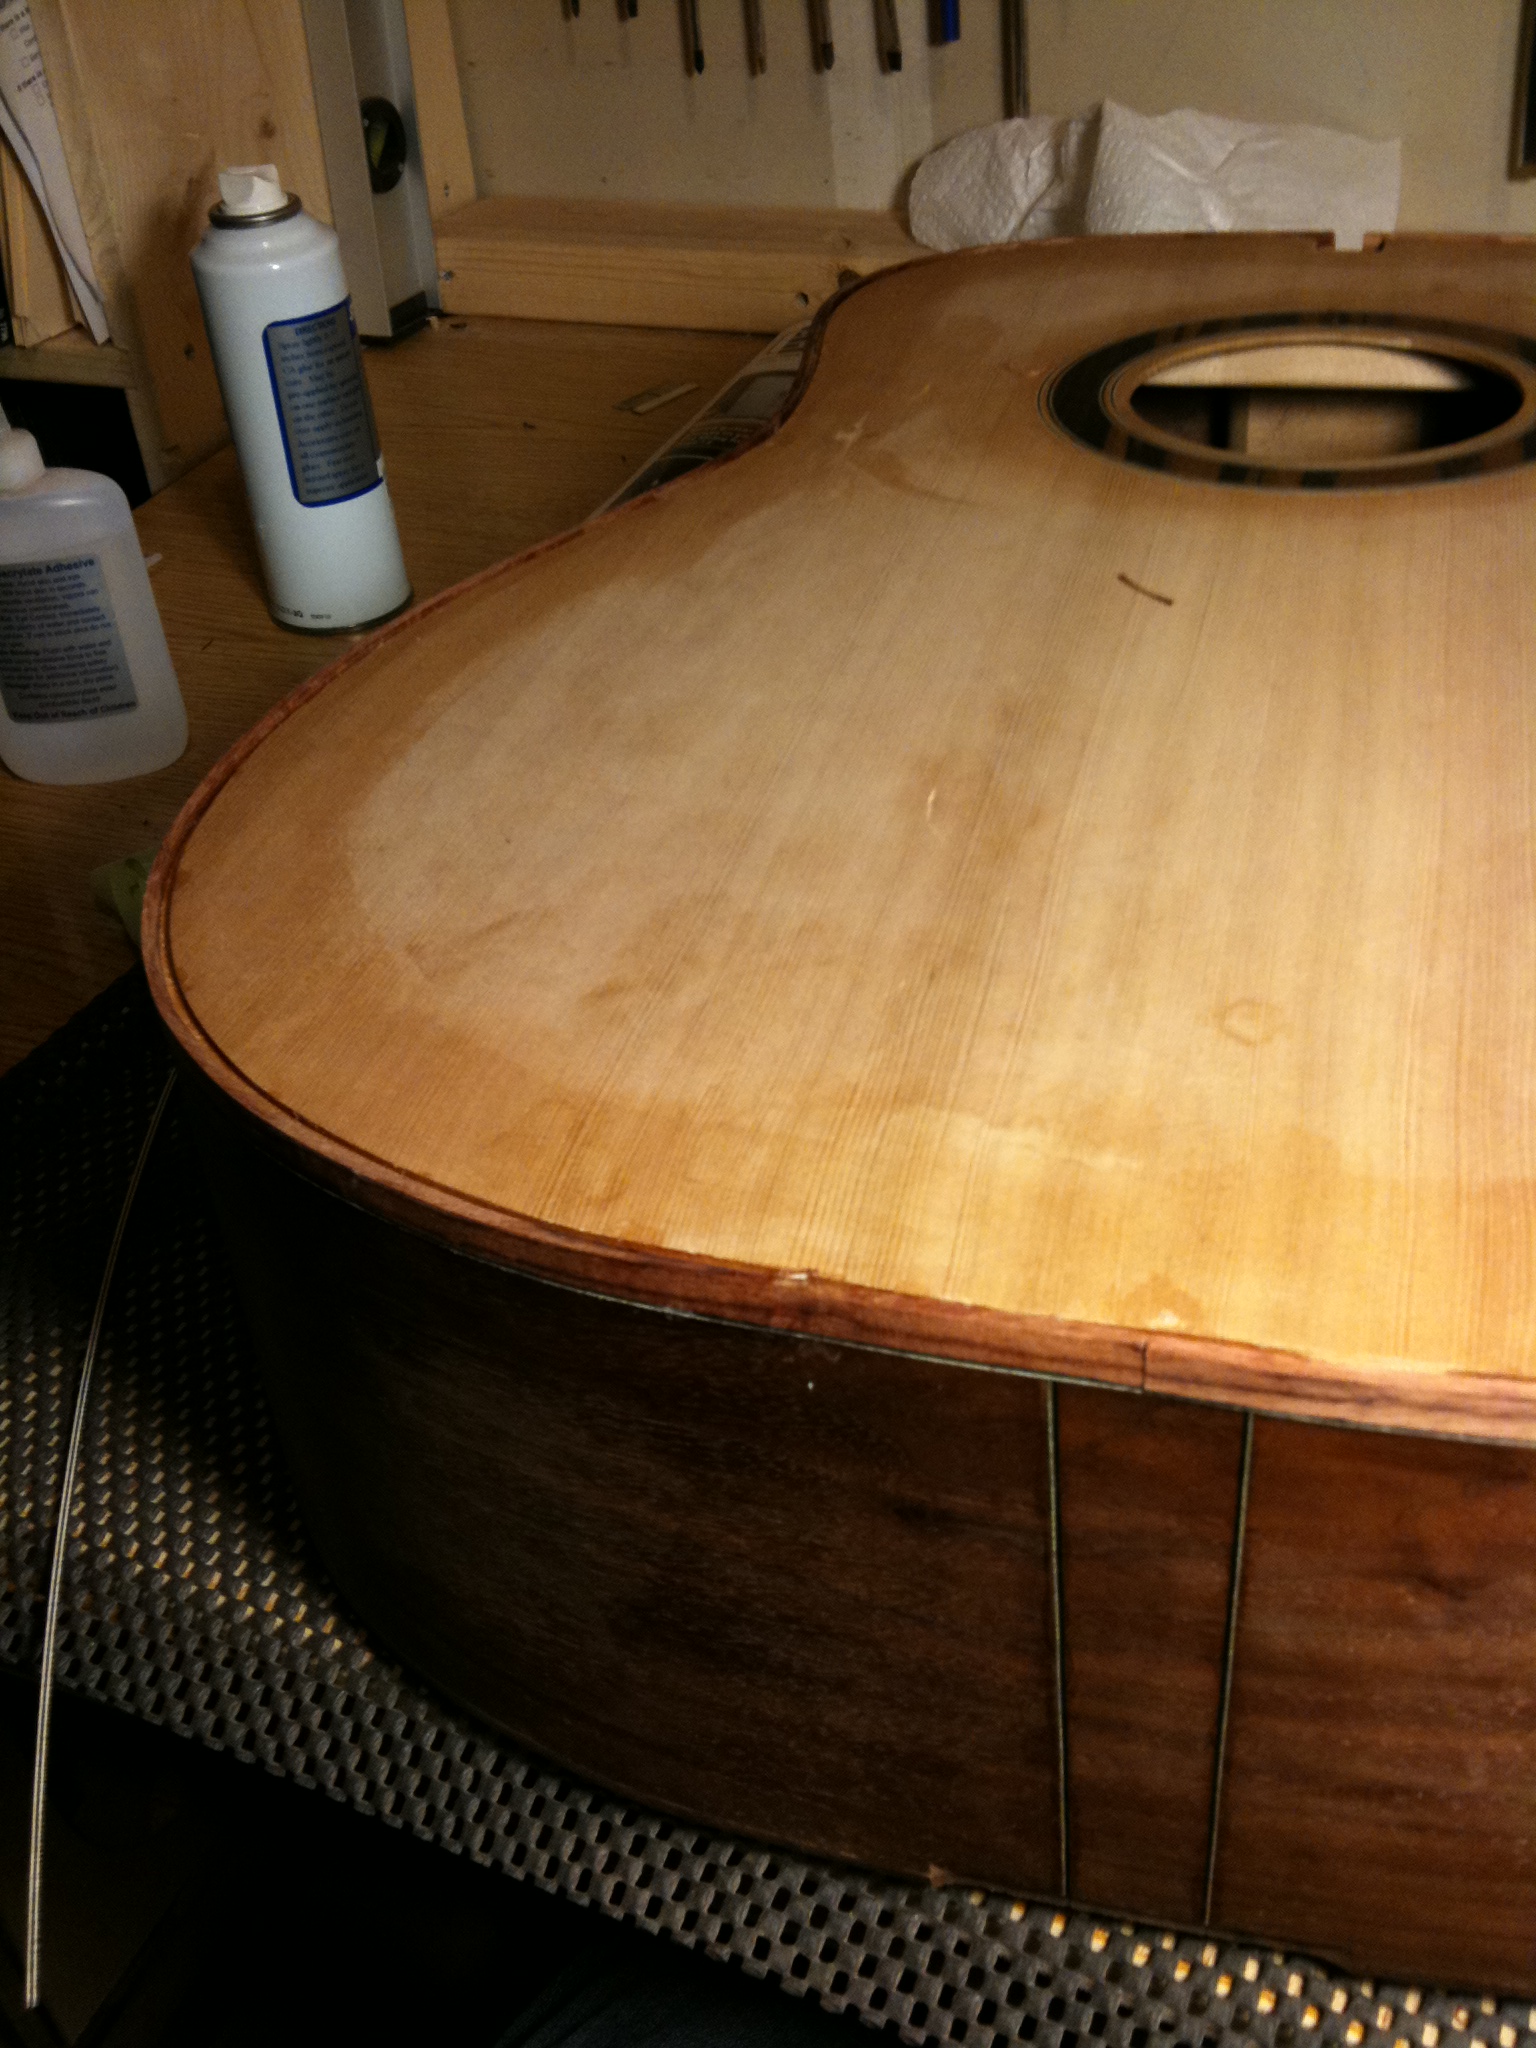
I cleaned up my box after that. Lots of hole filling for the binding, lots of sanding, lots and lots of scraping. I softened the edge of the binding and did some final sanding. I think it looks good. The last shots are of the first coat of pore filler (Zpoxy).
I get to set the neck next…. oh joy :S


Seems like everything I’ve been touching lately I am trying to ruin. If it’s not my own finger, it’s a soundboard.
Ugh.
So I got my Stew-Mac order in on Thursday. In the order was just some purfling and the binding router with a few different sized bearings. The binding is something that I’ve been dragging my feet with, so I figured I should just get it over with.
I didn’t take a ton of pictures, but hopefully you get the idea. I have a lot of sanding to do now. As you can see I buggered up the soundboard. I think it’s too deep to sand out, i might have to just find something to glue on top of it…. i dont know.


So I had this grand idea for the fret markers. I would create little triangles and put them on the upper part of the fretboard. For the 12th fret, I would make a double-triangle thingy…. yeah, it didn’t turn out so great. Unfortunately I had the entire thing done by the time I realized it looked like a 3-year old’s drawing on refrigerator. Time to adapt.
I routed out the markers along with rectangular pieces for each fret slot. I cut around the original design because I wanted that to be the primary element. Then i cut the white pearl pieces to go in those slots. I think it looks a lot better.


I did my logo on the headstock using the Paduak that’s used on the fretboard. Here are some pictures.


I got the headstock semi-done. I still have some work to do, but here are some pics.


Things are slowing down a bit. I need to make another order for parts, but I am currently running low on funding, so I have to wait a few weeks before I can order again. Until then, I’ll probably work on the few things that I can. Headstock, bridge…that’s really about it.
Here is version 2.0 of my headstock design.
